OUR PRODUCT

Focus on solar charge controllers

  • Ocean Dream series PWM solar charge controller Ocean Dream series PWM solar charge controller
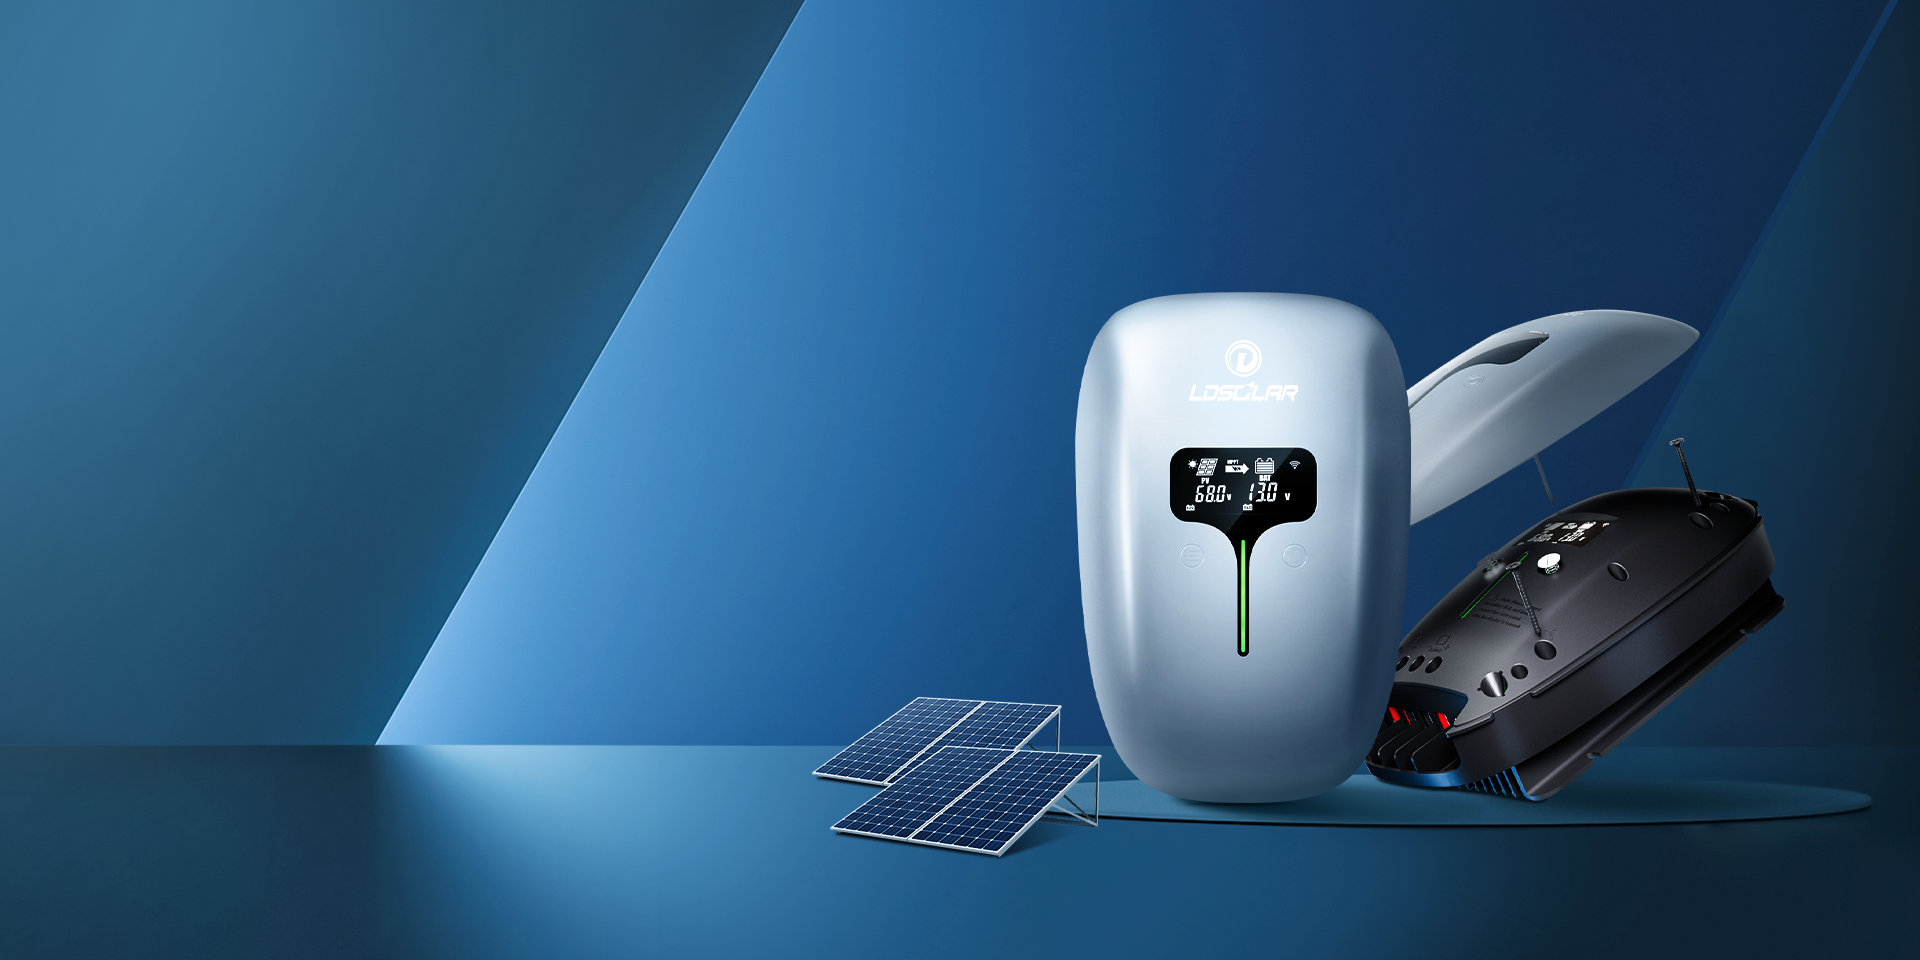
    Ocean Dream Series (OD in short) is our newest designed PWM solar controllers. Its specialty lies in the inner 32 bits CPU,which enables the controllers to work faster and more stable. It built 4USB port and a screw driver inside.Besides,our unique black&Red big terminals design facilitate your connection in real application. The white frosted plastic shell is very natural no matter where it is placed in your home or RV.Click here to download data
  • Tracer Dream 100V Series MPPT Solar Charge Controller Tracer Dream 100V Series MPPT Solar Charge Controller
    Tracer Dream 100V TU Series adopts MPPT technology. Max.100V solar input, 12V/24V auto work. It's also ran by 32 bits CPU, so stability and speed can be guaranteed. Based on the synchronous rectifier technology, the transfer efficiency of circuit can be increased up to 98.5%and the Pmax tracking accuracy up to 99. 5%. So our MPPT can trace the accurate Pmax in the shortest time (10~20s) , even when the sunlight changes rapidly. It can perfectly handle extreme weather or weak sunlight.It adopted by common negative design and it can start from solar, Widely used in RV, ship and so on.Click here to download data
  • Tracer Dream 75V Series MPPT Solar Charge Controller Tracer Dream 75V Series MPPT Solar Charge Controller
    Tracer Dream 75V Series adopts MPPT technology. It's also ran by 32 bits CPU, so stability and speed can be guaranteed. Based on the synchronous rectifier technology, the transfer efficiency of circuit can be increased up to 98.5%and the Pmax tracking accuracy up to 99. 5%. So our MPPT can trace the accurate Pmax in the shortest time (10~20s) , even when the sunlight changes rapidly. It can perfectly handle extreme weather or weak sunlight.Click here to download data
  • ldsolar Sky Dream series PWM solar charge controller ldsolar Sky Dream series PWM solar charge controller
    Sky Dream Series (SD in short) is our newly designed PWM solar controllers. Its specialty lies in the inner 32 bits CPU, which enables the controllers to work faster and more stable. Besides, our unique black&Red big terminals design facilitate your connection in real application. It can be applied in the solar system which has higher standard over the stability and reliability.Click here to download data
22222
WHY US

OEM and ODM service is available, Based on mutual trust, we strive to seek a win-win situation with you. 

We are professional

Ld solar focuses on the R&D, production and sales of solar controllers. It has been deeply involved in the industry for more than 10 years and only produces solar controllers. If our controllers weren't well done, we would have been eliminated by the market.

Service Support

As a professional solar charge controller manufacturer, Welead provides wholesale solar charge controller, solar charge controller accessories with comprehensive pre-sales, mid-sales and after-sales services, and support OEM/ODM customization is welcome. Quality and Innovation is the life of products

Quality Assurance

We provide a 1.5-year warranty for the PWM controller and a 3-year warranty for the MPPT controller. During the warranty period, if there is a non-artificial quality problem, we will replace it for free

Trusted and Dependable

We are trusted with over 120 countries by companies, organizations and government and our customer satisfaction rate is at 99%. We build lasting relationships with customers by making what’s important to them, important to us.


READ MORE
READ MORE
OUR ADVANTAGE

The company is CE,ROHS and IEC registered,and also obtain more than 30 patents.

  • Profession

    Focus on solar controller

  • Quality

    Obtain some certifications and patents

  • Design

     Innovation is the life of products

  • After-sale Service

    Free replacement for 1.5 ~ 3 years

ABOUT US

Specializing in solar charging controller R & D, production and sales.

We are an integrated solar energy company specialized in R&D, Producing and marketing solar charge controllers.

With registered brand LDSOLAR, our main items include PWM solar controllers which is represented by Land Dream Series and Sky Dream Series,MPPT solar controllers which is represented by Tracer Dream Series and Tracer Dream TU Series.

  • 2014+
    Company establishment
  • 80+
    Company personnel
  • 1500+
    Factory area
  • OEM/ODM
    Custom solutions
READ MORE
OUR CASES

Reliable quality to meet our customers

  • How to use ldsolar's controller
    How to use ldsolar's controller.In this video, we’ll be showing you how to connect ldsolar charge controller to connect the battery and solar panel. For any other questions regarding to the unit, please give us supporting recall. Click here to download data
  • Ldsolar mppt regulator TD75V mttp charge controller manufacturer
     Ldsolar mppt regulator TD75V mttp charge controller manufacturerThis product is generally very decorative and is available in a nearly endless selection of colors and styles. Users can expect a nice-looking bedroom with this product.Installation of Instructionn Controller Fixed1) The controller should be installed well-ventilated place, avoid direct sunlight, high temperature and do not install in location where water can enter the controller.2) Please select correct screw to fix the controller on the wall or other platform. Screw M4 or M5, Screw cap diameter less than 10mm.3) Please reserve enough space between the wall and controller, to allow for cooling and cable connection.4) The mounting holes distance is 189mm*85mm,diameter of hole is 5mm。5) Aluminum fins for natural cooling, we strong suggest hanging installation, this is better for air flow cooling effect.n Controller Connection« All terminals are in tight status after factory, in order to well connected, please loose all terminals at first.« The following order of connection please do not free change, the controller have battery voltage auto selection function, or cause system voltage recognition fault.« Before connection, please confirm the voltage of system fit for our controller, the open circuit of solar panel and maximum power at the using range of controller.In order to avoid fault installation, please refer to below procedure1) As figure, first connected the battery to controller correct poles. In order to avoid short circuit, please screw the cable of battery to the controller in advance, then connected to battery poles secondly. If your connection is correct, the LCD displaying will show battery voltage and other technical data. If LCD no displaying, please check the fault. The length of cable between battery and controller as shorter as possible. Suggest to 30CM -100CM. If short circuit happened on the terminals of controller, it will be result in fire or explode. Please be careful. (We strongly suggest to connecting a fuse at the battery side 1.5time of rated current of controller.)2) As figure, connected solar panels with controller correctly, if the connection is successful and sunshine is full, the LCD will show solar panel and an arrow from solar panel to battery will be light, we have below suggestions about solar panels connection.u Risk of electric shock, please pay attention to protectionu The max input voltage from solar panel could reach 100v, please try to use series connection in order to simplified cables.u In series connection could get down the current of solar panel, reduce sectional area of cable and voltage drop.For example: 17V 120Wx2 solar panels charge 12V battery, if we use PWM controller, we have to in parallel connection, the solar panel array voltage is 17V, current is 14A, current density is 3A/mm2. So we need sectional area 5 mm2. If we in series connection solar panels array voltage is 34V, current is 7A, At this time we need sectional area of cable 2.5 mm2, half conductor area reduced than parallel connection.3) As figure, connected loads with controller correctly. In order to avoiding injury from load voltage, please close to the output of controller with button at first, then connected the load on the controller. The controller do not offer reverse connection protection for load, so please take care, reverse connection for output will be destroy loads.Attention: If users want to connect inverter or inrush starting current loads, please connected them with battery directly, do not connected them with controller, or the controller load can not be start or destroy.4) Insert type external temperature sensor: external temperature sensor used for temperature compensation, please closed to battery as nearer as possible, if the temperature sensor do not plug in, the controller will default 25℃.5) RS485 communication interface: Monitored by professional wire and host computer. (optional)6) USB output:USB could offer 5V,Max 1000mA for mobile, laptop, MP3 and so on. (40A not available USB output at the moment)Warning: Please do not connect USB loads to anywhere, the USB output negative poles is in series with Load negative poles.n About ground connection of solar systemPlease noted, this solar charge controller designed by all positive connection, all components inside the controller are positive combined together. If your solar system needs ground connection, please let positive ground connection. Warning: For some force to ground connected system, such as solar communication system, portable solar system, they are negative ground connected, at this time please do not positive connected, or can cause short circuit.Click here to download data
  • OD/TD75V Installation instruction
    OD/TD75V Installation instruction.It only takes a few simple steps to install the controllerThe Ldsolar controller adopts a simple design, stylish and beautiful, and comfortable in the hand. It is very natural whether it is in the home or in the RV.
  • Ldsolar MPPT charge controller TD100V mppt solar controller
    TD100V.In the design stage of  , various design principles have been considered. They include foot biomechanics and physiological structure development (concerning physical stress and weight points).1) The controller should be installed well-ventilated place, avoid direct sunlight, high temperature and do not install in location where water can enter the controller.2) Please select correct screw to fix the controller on the wall or other platform. Screw M4 or M5, Screw cap diameter less than 10mm.3) Please reserve enough space between the wall and controller, to allow for cooling and cable connection.4) The mounting holes distance is 189mm*85mm,diameter of hole is 5mm。5) Aluminum fins for natural cooling, we strong suggest hanging installation, this is better for air flow cooling effect.Click here to download data
GET IN TOUCH WITH US

Just leave your email or phone number on the contact form so we can serve you!

Send your inquiry